Monthly Archives: May 2020

Layers heights

In 3D printing, as in many other fields, you can choose between different qualities of work ranging from draft quality to fine quality. As far as we are concerned, the concept of quality concerns the layer height. It will not affect our resolutions on the X axis or on the Y axis, but only on the Z axis (vertical).

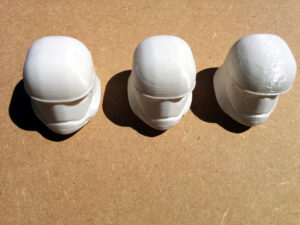
To illustrate this article, I printed the same object, a Storm Trooper helmet, in three different resolutions:

Layer height

At 0.1 mm per layer, the first impression on the left. The estimated printing time was 3:42 (4:45 after actually heating). The amount of filament expected was 19 g, or 6.43 m.

At 0.2 mm per layer, the impression of the medium. The estimated printing time was 1h50 (2h21 after actually heating). The amount of filament expected was 19 g, or 6.35 m.

At 0.3 mm per layer, the rightmost impression. The estimated printing time was 1h15 (1h35 after actually heating). The amount of filament expected was 19 g, or 6.43 m.

Note that the quality has a great impact on the printing time. It turns out that this is exactly what we are asking. On the other hand, it hardly affects the quantity of matter. The little change that quality applies to the geometry of the part will eventually alter the way your slicer will generate its supports. This is the small difference in filament length that we see here on printing in 0.2 mm per layer.

The differences in quality will be much more visible on parts with organic shapes, like here. And less on technical forms, rich in flat surfaces. This is the reason why I chose an object with organic forms. The top of the helmet being the very example.

On the rightmost impression, with the eye, we even see that the printer has not managed to close the entire helmet. There are gaps between certain layers.

Note that the layer height must not exceed 80% of the nozzle diameter. With a 0.4 mm diameter nozzle, this gives a maximum height of 0.32 mm. That said, you can exchange your nozzle for a larger diameter. More information on the (french) article Tout sur les buses de diamètre différent, from the Filament-ABS website.
Take care of your spools

I have been printing in 3D for a few years now, and I am taking advantage of the arrival of new coils during this period of de-containment to tell you about the measures I use to preserve them as best as possible.

When you receive a new spool of printing filament, the filament of this spool must be aligned (no thread passes over another), ideally distributed (each layer forms a straight line, perpendicular to the discs of the spool), under vacuum (or at worst, in a waterproof bag), and with a desiccant sachet.

The first two points show that your manufacturer has used a professional winder, which manages the filament correctly during winding. The next two show that he has common sense, that he respects his customers, and wants his product to be kept in good condition.

Vacuum packaging is the best to guarantee the long conservation of the filament before its sale. But the resealable bag (freezer bag style) is the best way to store it at home, after purchase. Still accompanied by its desiccant sachet.

I specify here that I only print in PLA. These measures should apply to other materials, but do not hesitate to correct me or complete me if I forget things that would only concern ABS, PETG, PA, etc. You can push the subject by reading Etude de la conservation des filaments pour impression 3D (in french) from Maker Shop.

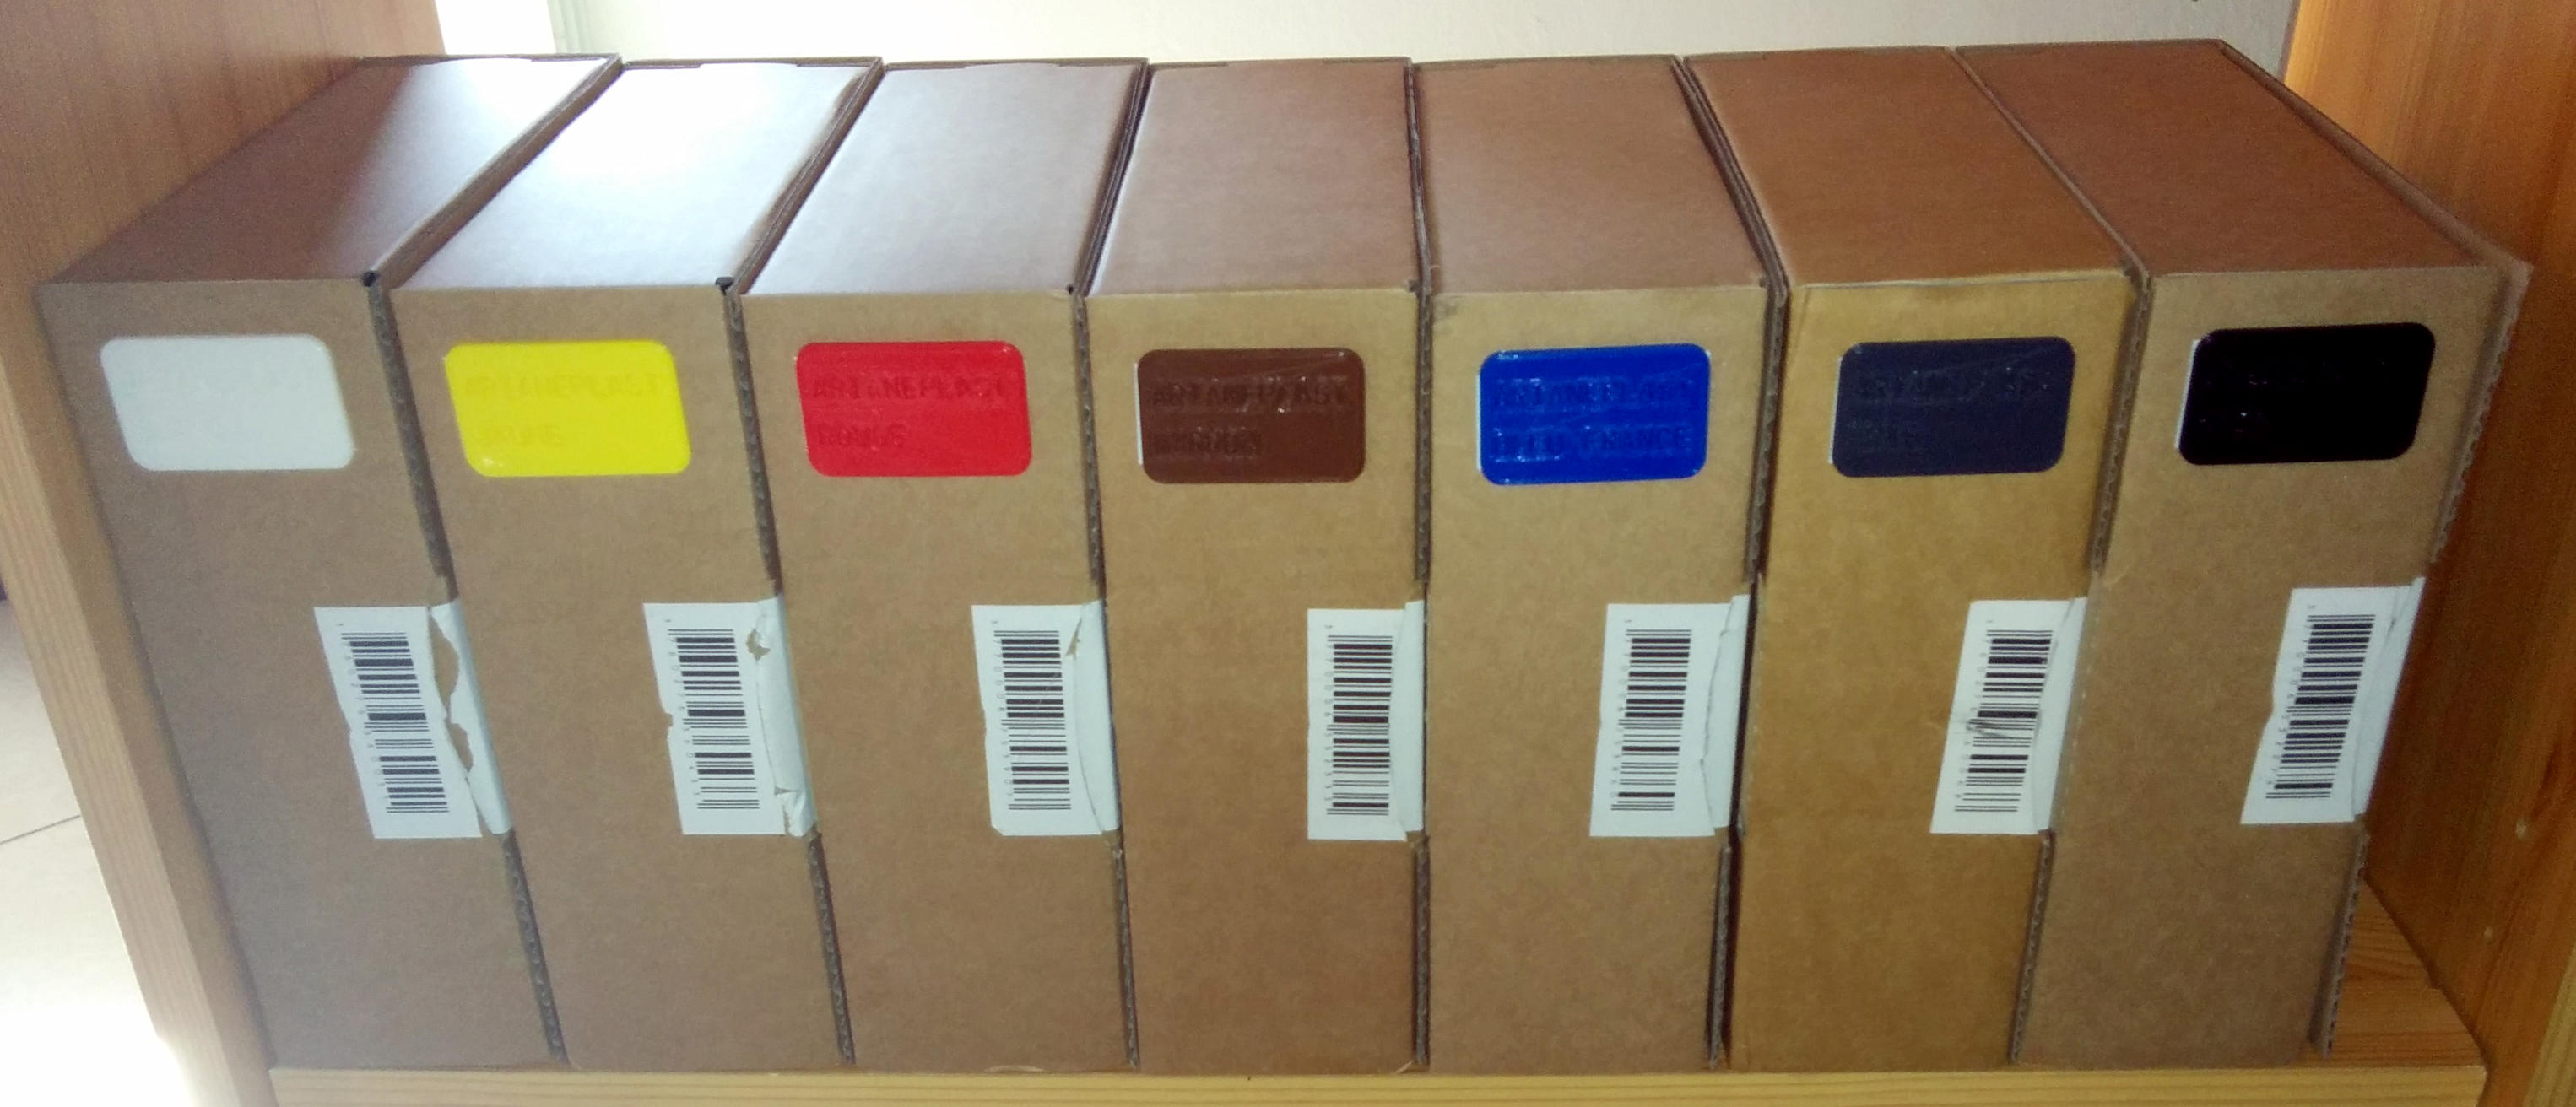
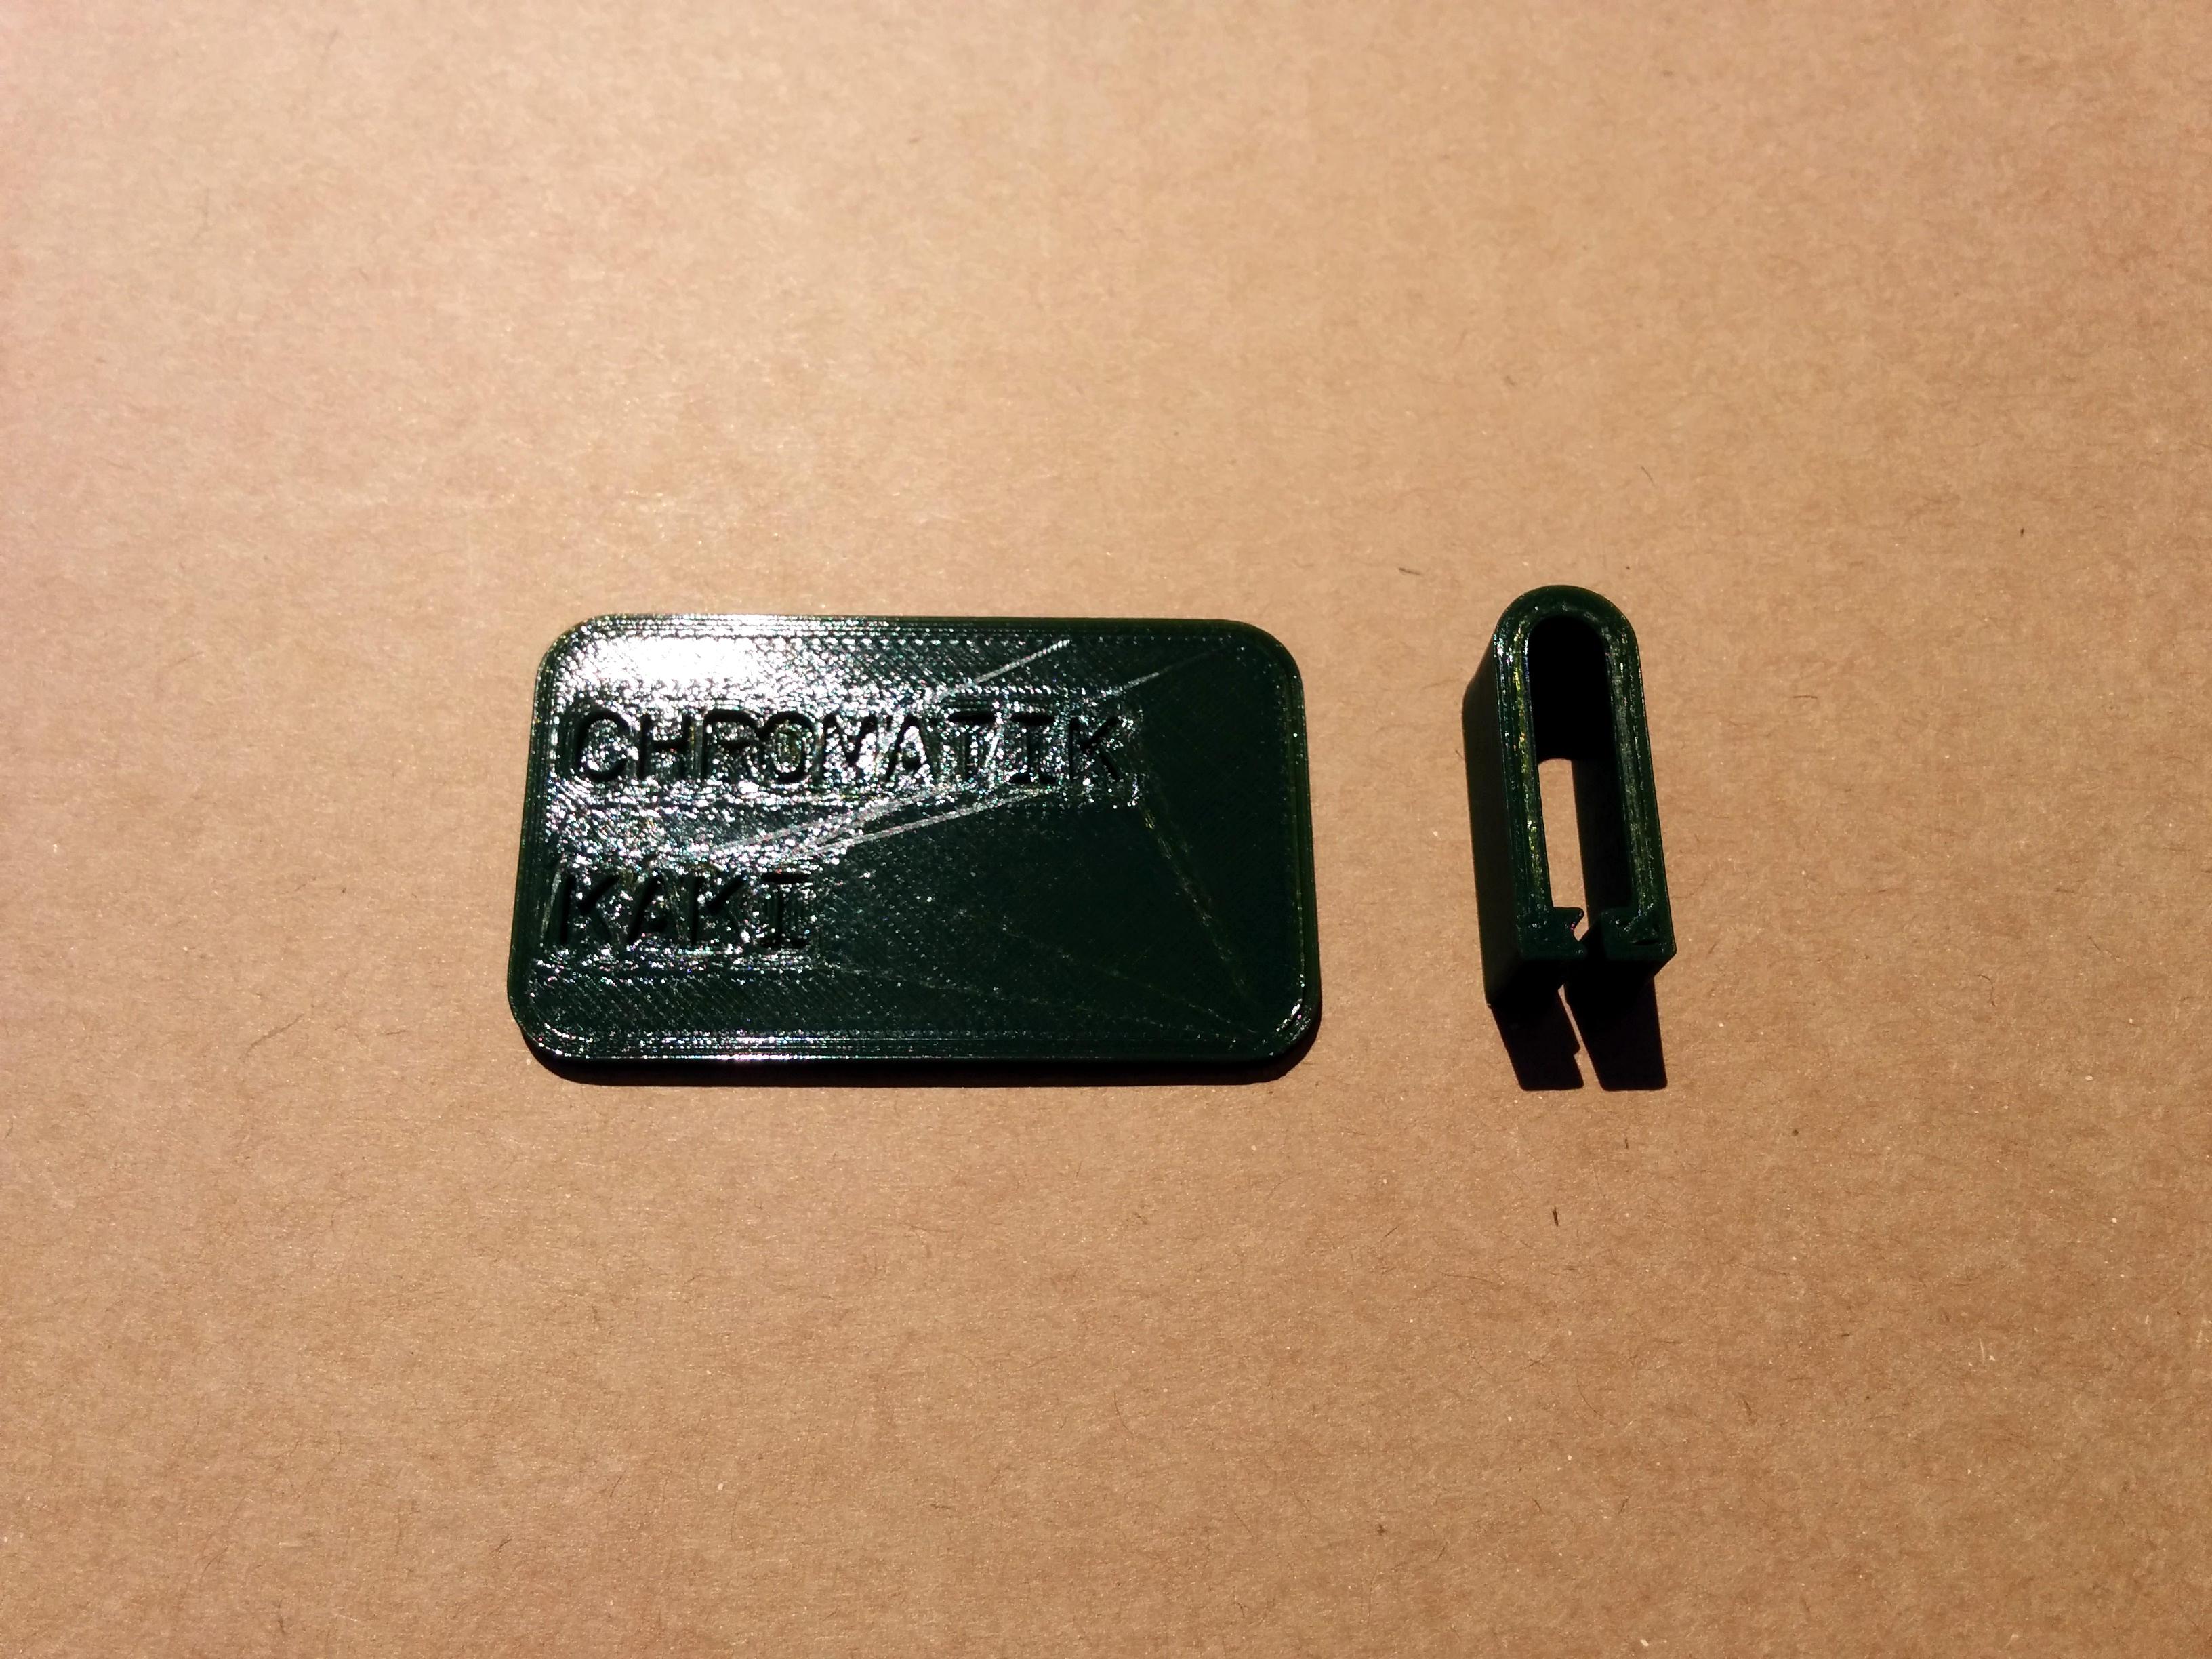
When I receive a spool, was I saying, I start by neatly cutting out its vacuum bag, which I carefully store with its desiccant bag. I install the spool and print a staple. If it is a new filament, I also print a medallion so that I always have a sample at hand with the brand and the model. Finally if its packaging is neutral, I print a second medallion that I stick on the box with double-sided adhesive.

Medallion and staple  Filament boxes

When I store a filament, I carefully remove the filament, preventing the spool from relaxing. I cut it at 45 ° above the bead created by the heater to facilitate insertion the next time. I cleanly rewind what was unwound and staple it inside one of the discs of the reel, as taut as possible. I put the spool in the plastic bag that contains the desiccant sachet. I put everything in the box, which I store vertically.

When I get rid of an empty spool, in addition to ensuring which waste goes to which reprocessing subsidiary, I keep a few plastic bags with their desiccant sachet in case I test a manufacturer that does not do things in the standards, allowing me to pack a new coil more cleanly. I do the same with a few boxes of neutral packaging.